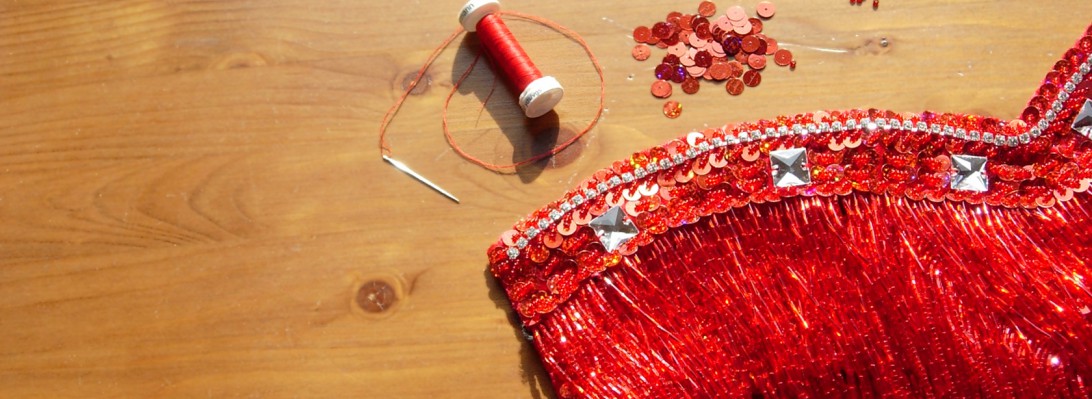
The black multicolor costume is well on it’s way. I made a new belt base, a bra base, I decorated the bra and lined it. Before continuing with the belt I needed a short project with a quick result. The key to keeping yourself motivated for complicated sewing projects is by cutting it into smaller chunks. Every time I finish a chunk, I remind myself how I am getting closer to the ultimate goal of creating a completely new costume.
So, I decided to work on the matching armbands. The original costume had arm bands made of stretchy sequin ribbon. For the remake I wanted something that mirrored the scallops on the belt and that showcased the bright jewels. I didn’t feel like taking the high road by carefully creating a paper pattern, instead I took a marker and drew the shape of the armbands on white felt and cut out two of the same shapes.

I covered both shapes with black lycra by pinning the lycra into place and using the sewing machine to stitch it together.

I then continued with ading the sequined fabric on top. Using a zig zag stitch to attach the fabric to the armbands, I then cut off the remaining sequined fabric. Watch me go crazy by taking this picture on the diagonal instead of horizontal.

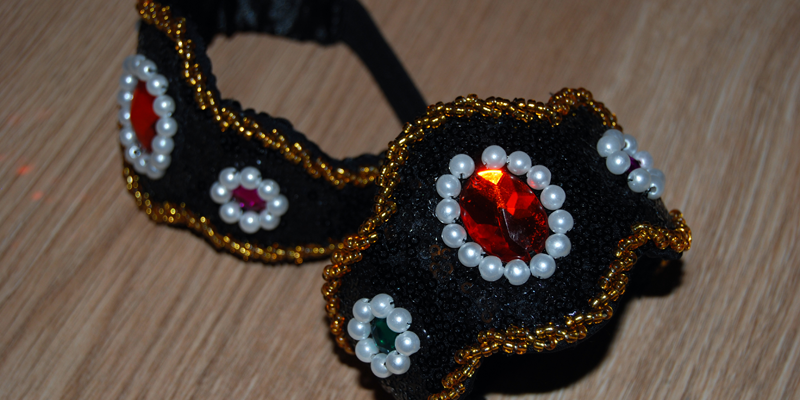
The beading is similar to the bra: I added rope beading along the edges and stitched jewels edged in pearl in the center of the bands. I left the ends of the armbands unbeaded on purpose, to make it easier to attach black elastic. I cut out two pieces of lining big enough to line the arm bands.

In order for the fabric to follow the scallops, I needed to make a couple of cuts to create ease in the lining fabric. I made cuts at the places where the fabric might be tense, where the design dents inward.

I pinned the lining to the armband with a couple of pins in the center, then started pinning and folding the lining to make it follow the scalloped edges of the design. I started out in the center and worked outwards. As you can see, I am still pinning constently from the outside inward. Consistency in the work proces helps to create consitent quality in the finished product. In other words: once you find out what works for you to create a high quality costume, make sure to stick with it every step of the way.

Once pinned, you can already see what the end result will look like.

With sewing the lining down, I left the side parts open, leaving a gap for the black elastic. In essence this is not neccesary, the elastic could just as easily be sewn on top of the lining and the arm band would have been fine. I made this choice because I like the look where the edges of the elastic are hidden behind the lining. Here I am poking the hole with a pen to show you what it looks like, as black on black was hard to photograph :-).

All I needed to do was find a piece of black elastic, shove it between the lining on both side and pin it. I tried it on for size and adjusted the elastic accordingly before stitching it into place.


Weehee! I am happy with finishing these and I am continuing with the belt.


